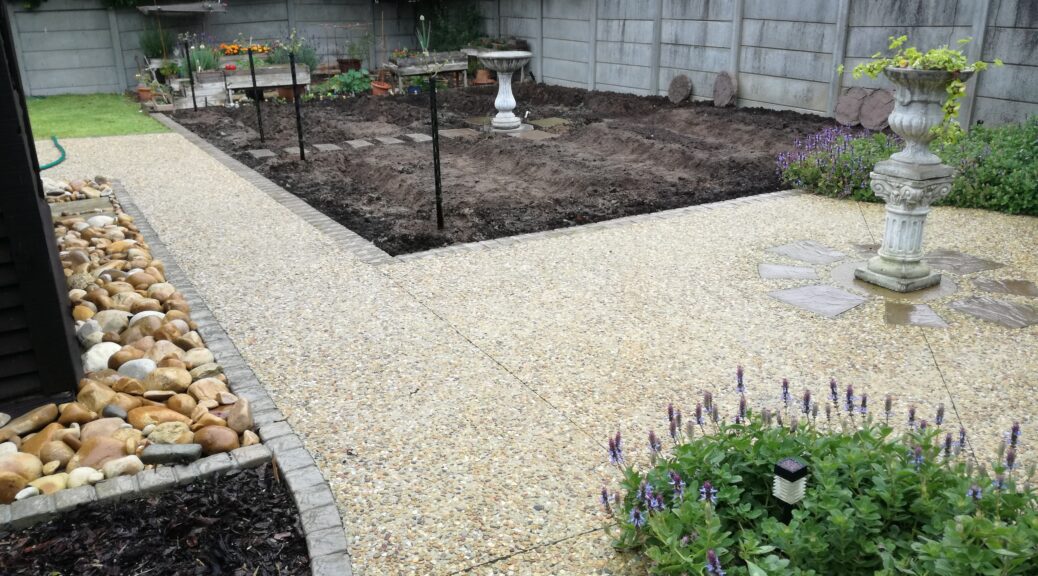
Garden Project #4 – Part 1 of the Garden Makeover
We were in the grips of the worst drought Cape Town had experienced in a hundred years. Stringent water restrictions had been in place for more than a year and Day Zero was predicted for early the following year if it didn’t rain. We don’t have a borehole so our garden, as with many others, was left to its own devices. We decided that a drastic garden makeover was needed and hard landscaping would be the answer.
This is Part 1 our our extensive garden makeover project which details the layout and work done. Part 2 will show the finishing touches and the end result of this exciting project.
We were coming up to our 25th wedding anniversary. Instead of a costly holiday for a few days hubby and I wanted to treat ourselves to something we could appreciate and enjoy for longer. We decided to gift ourselves a garden makeover instead.
The Design
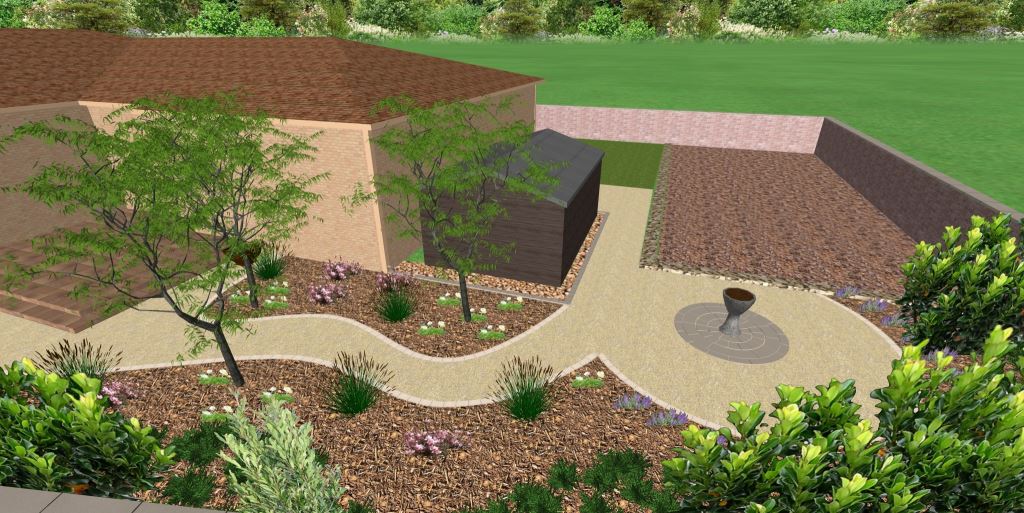
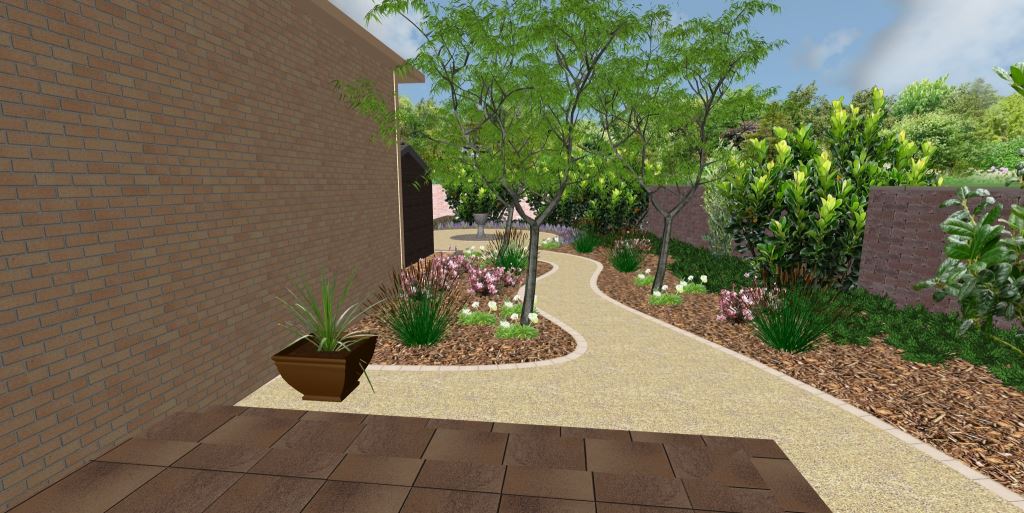
I always seem to end up with the title of project manager when it comes to garden projects. Don’t get me wrong, I am not complaining – in fact I actually enjoy it and hubby knows that a happy wife is a happy home. So, with a rough sketch in hand, I approached a local landscaping company called Trees Online for a quote. My sketch was transformed into a virtual plan and soon that plan became a reality.
The side and back garden
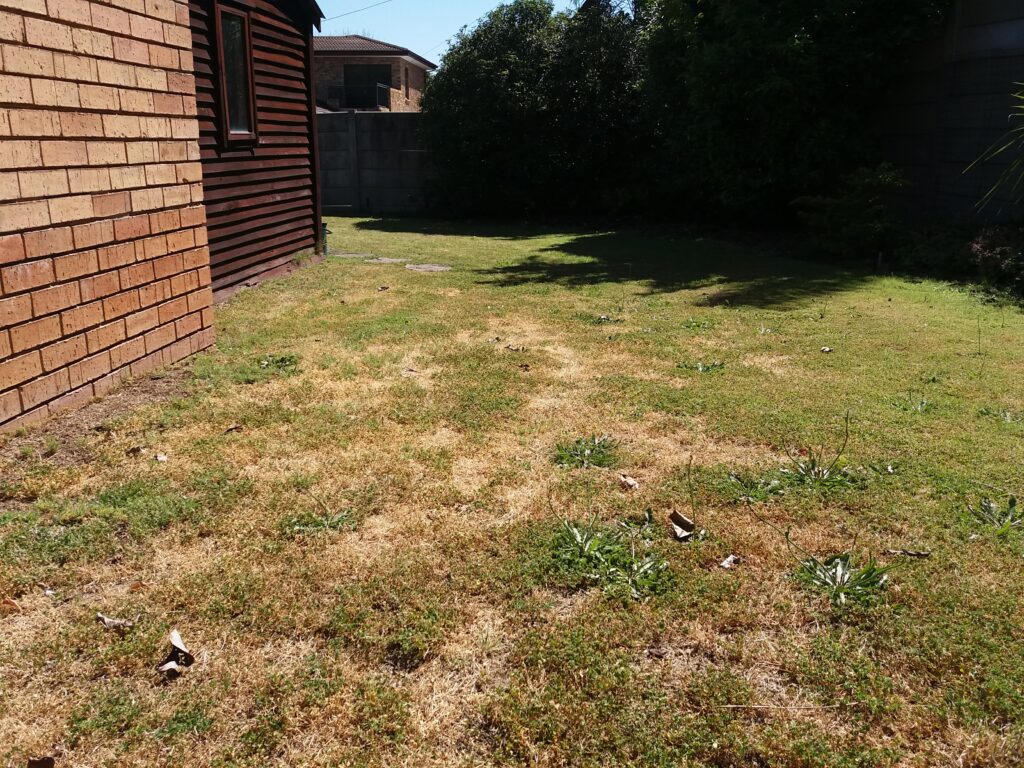
We needed to remove just over 100 m² lawn – well, already nearly dead grass and weeds – from the side and back garden. A pathway would lead from the stoep down to the bottom of the garden ending in a circular area where a pot would stand as a focal point.
The area at the back of the house would be converted into a large veggie garden. An exciting project on its own but more about that in a moment.
The idea was to extend the existing flower bed up to the path and create a new bed against the house. We were not going to install an irrigation system so the plant choice would have to include water-wise and drought resistant plants.
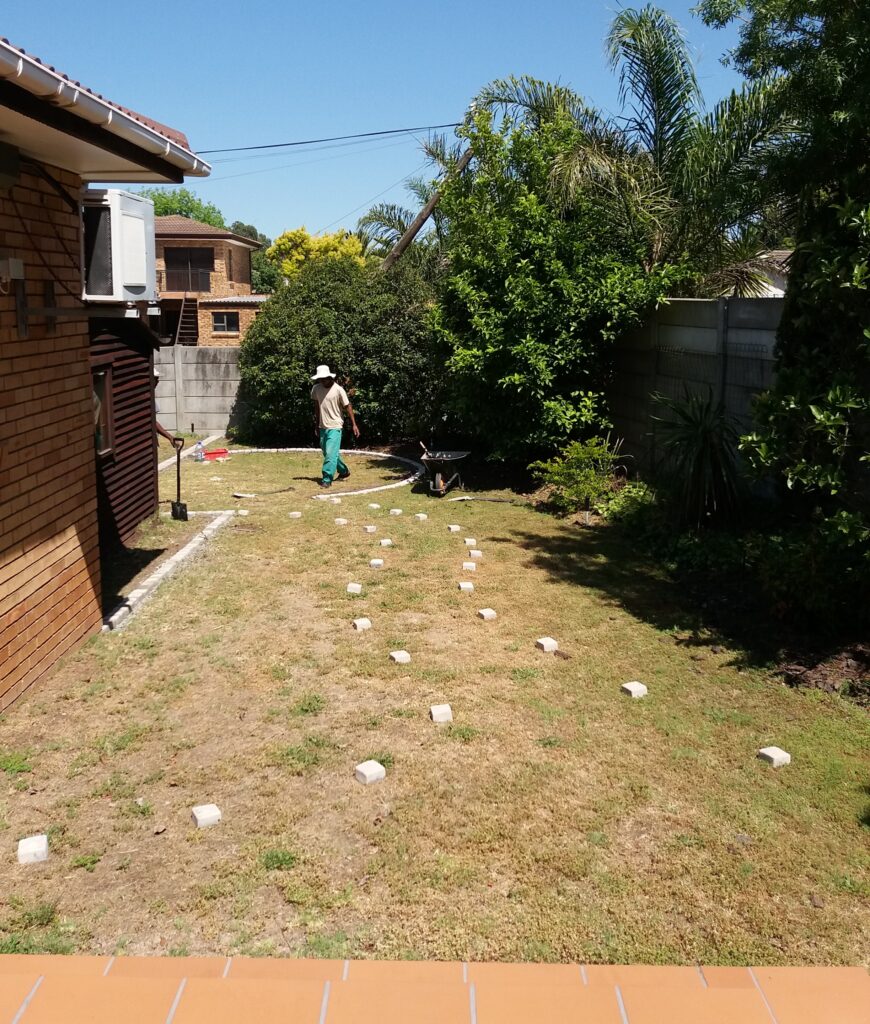
The front garden
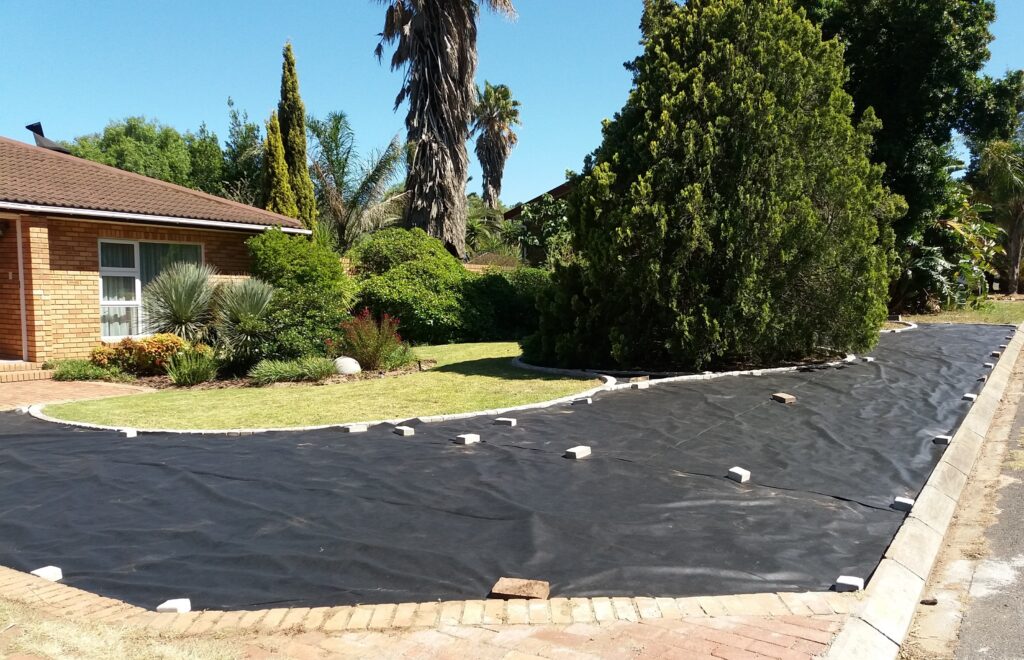
Some changes were coming to the front garden too. Stones would replace at least 50% of the lawn. Back in the good years when we were allowed to irrigate the garden, having such a large lawn to water was an expensive operation. At least by only having a small area of grass we’d save on the water bill. That is to say should we be allowed to water the garden again one day.
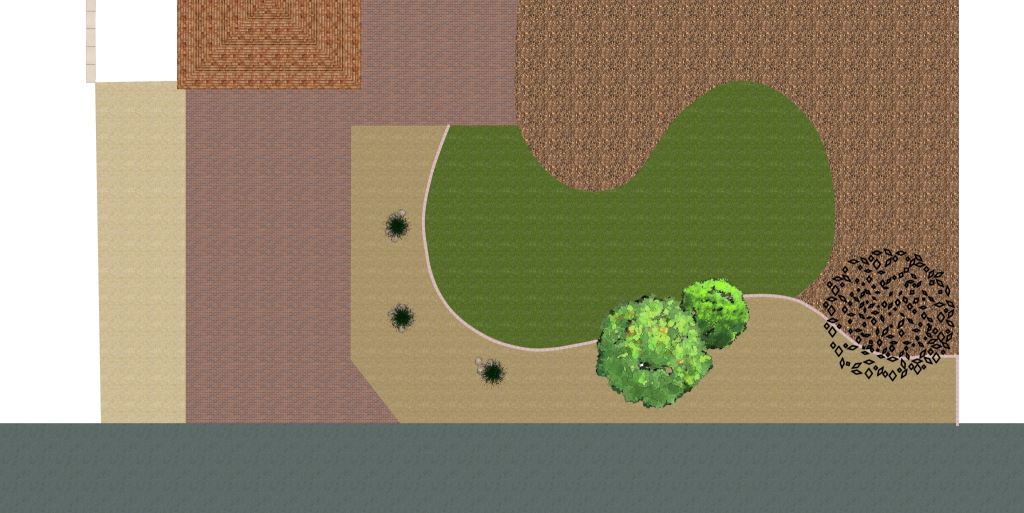
Hard landscaping doesn’t need to be hard on the eye. The sweeping lines and curves of the flower beds were repeated with the area of the stones curving around the lawn.
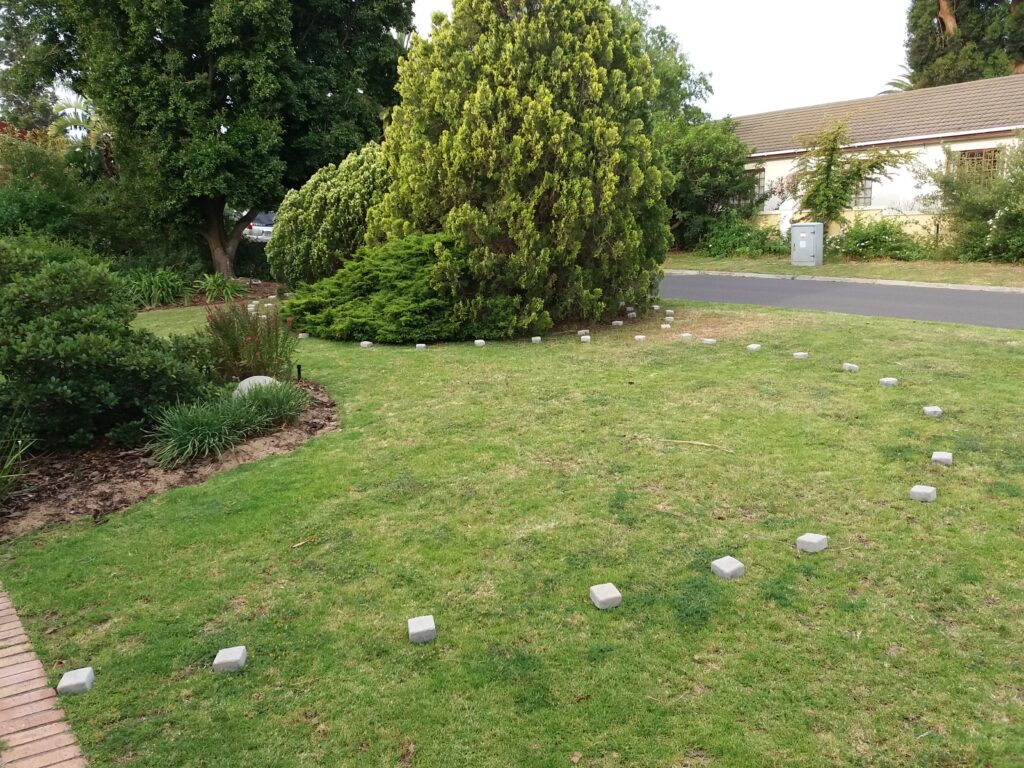
Let the games begin
With the design mapped out on the lawn the preparation work could begin. I was a bit anxious that the grass to be removed first needed to be sprayed with a herbicide. As a rule I prefer not to use any chemical poisons in my garden, however, I was assured this was a necessary step. Looking back, I can appreciate that it was needed and no harm came to my other plants or the remaining lawn. The Trees Online team made quick work of removing all the grass once the edging was laid.
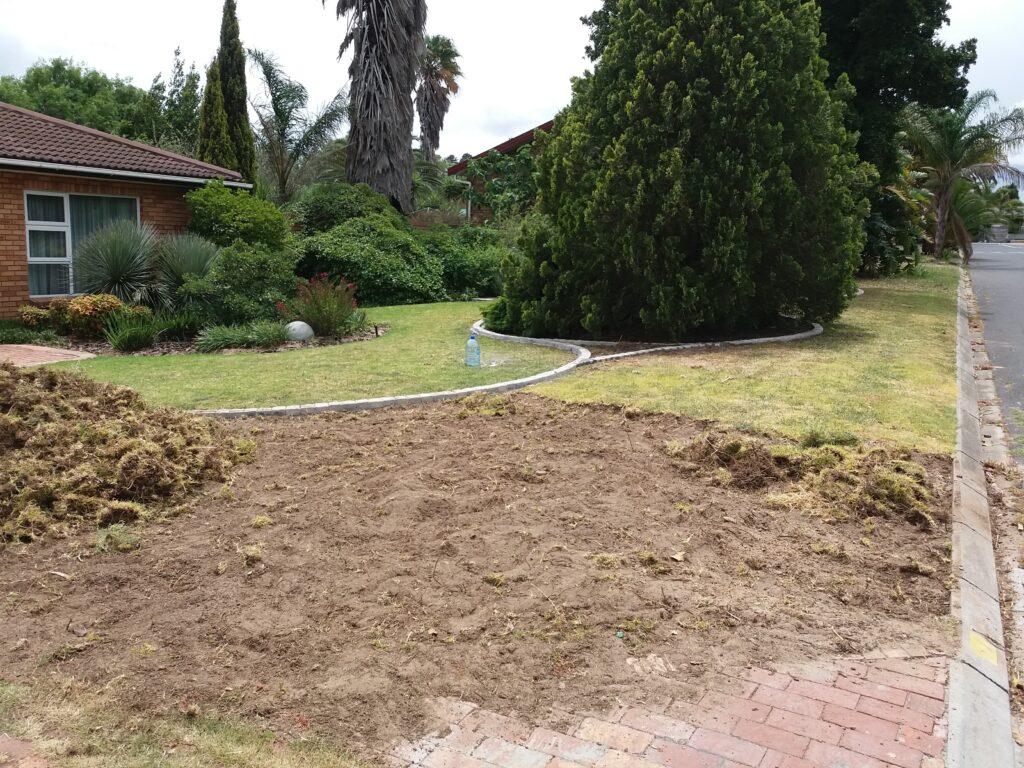
The area was covered with weed guard fabric before the stones could be brought in.
The back yard transformation was quite extensive. All the grass was removed except for a small area of 30 m² under the washing line. I still wanted somewhere I could feel some lawn under my feet and to wriggle my toes in the grass. The new vegetable garden I was gaining from our garden makeover was adding roughly 54 m² adjacent to my planter box veggie garden.
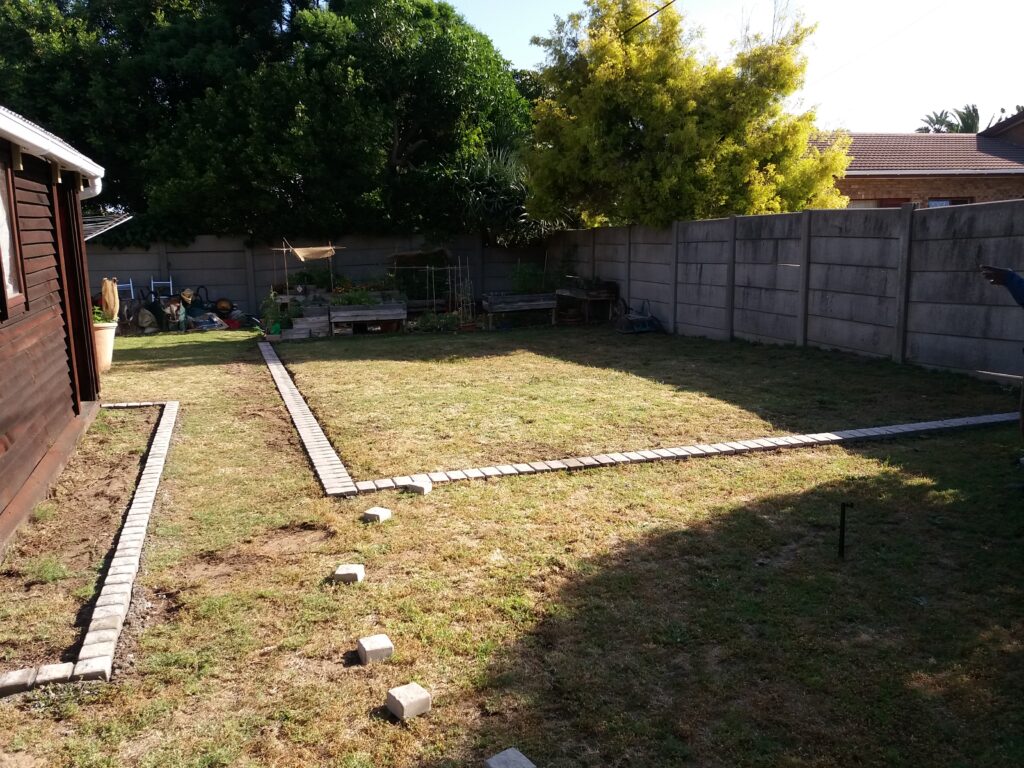
I was delighted to see the idea I had in my mind being transferred to the garden.
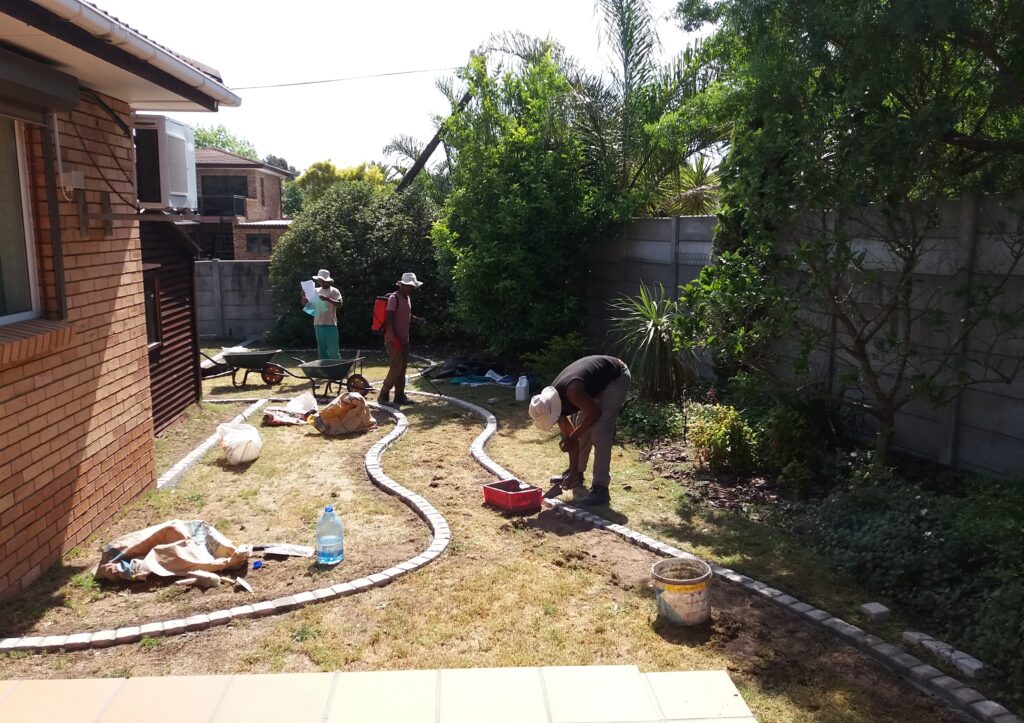
Plans were regularly consulted, the team members assigned their tasks and the work progressed well. This was so exciting!
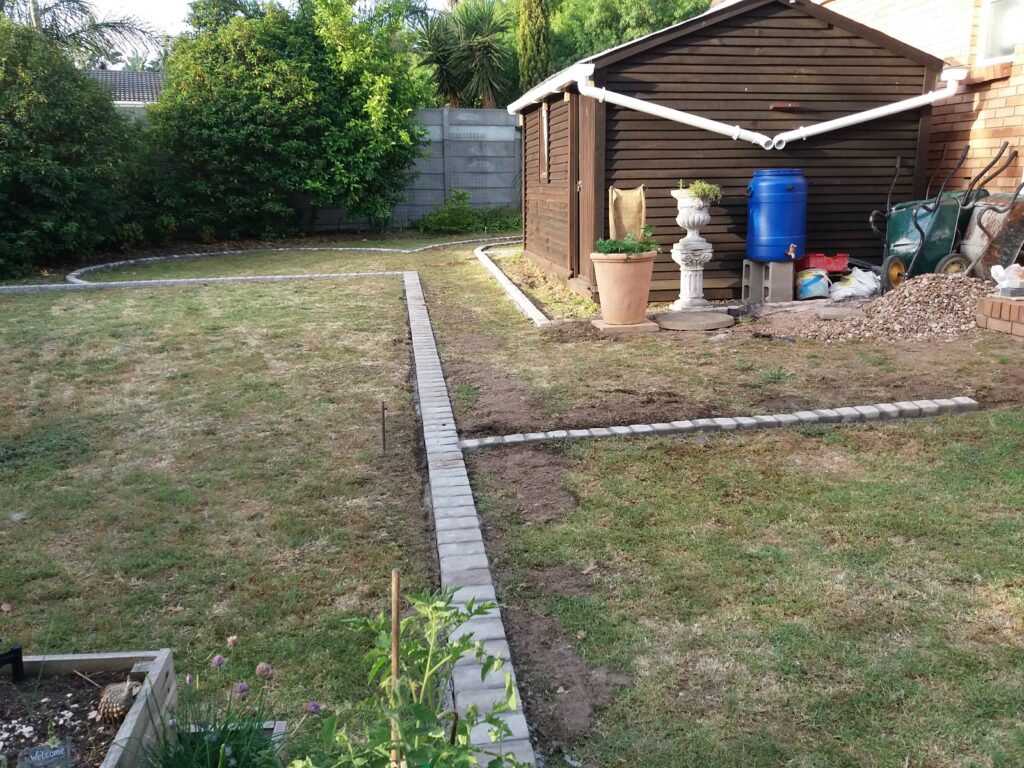
We had been catching water in containers lined up along side the Wendy house every time it rained. To neaten things up now that the garden was being redone, hubby installed a gutter system. It is definitely a more efficient way to catch water than the higgledy-piggledy array of containers we had. The water feeds into a 120 L drum which I use for the veggie garden.
Prepping the new veggie garden
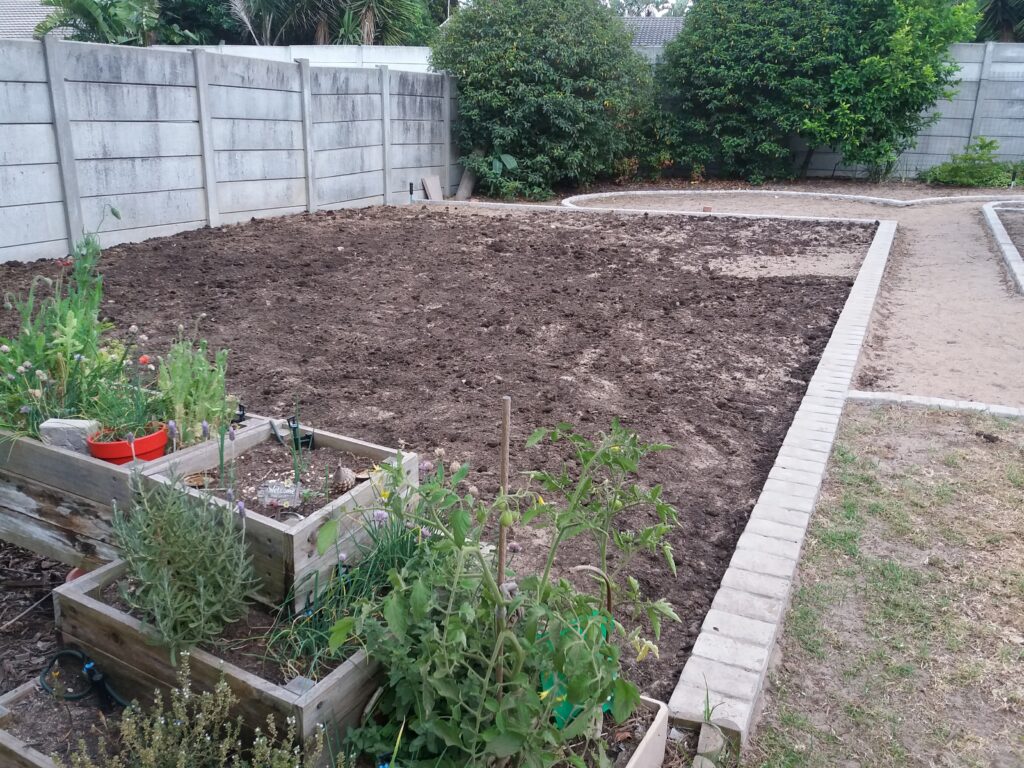
When we first moved into the house about two decades ago this area was a sandpit with watermelons and weeds growing in it. We planted lawn but over the years and especially since the drought, it became a weed-filled area needing quite a bit of TLC. So this makeover would transform it back into a veggie garden.
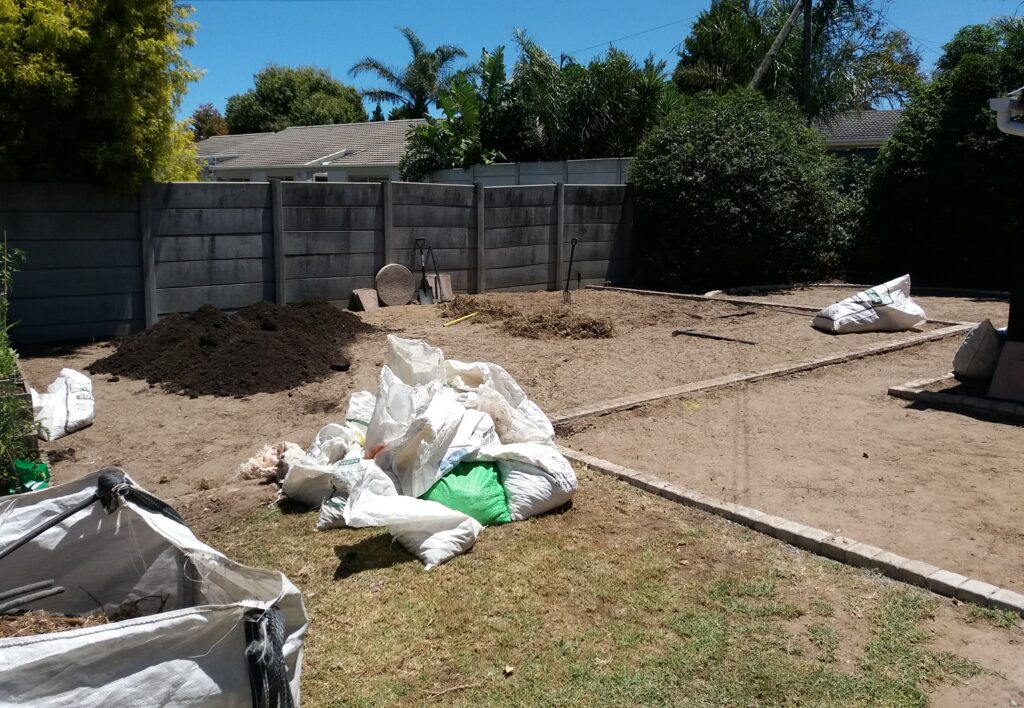
As any good gardener knows soil preparation is key to growing healthy plants. Two tonnes of compost were worked into the soil. This area was really sandy and as it turned out we needed a third tonne brought in. I couldn’t wait to get going with the first planting for the summer season.
What is exposed aggregate?
At first I thought of having a gravel pathway but then remembered that we have olive thrushes in the garden. Olive thrushes love digging in, or shall I say tossing bark while looking for grubs. This means that much of the bark in the flower beds would end up on the pathway and you can’t really sweep gravel. The next best thing which would still look like gravel is exposed aggregate. But what is exposed aggregate you may ask?
Exposed aggregate is the result of a technique of revealing the stones used in a concrete mix. Basically the top layer of cement is removed which leaves the gravel in the concrete exposed.
Our landscaper had subcontracted this part of the project to Imprint Paving Solutions.

We’d never had a cement mixer pull up in front of the house before. I suppose one could say I felt the same thrill as had it been a stretch limo parked in our driveway.
All the cement had to be carted by wheelbarrow round to the back of the house since there was no direct access for the truck. Fortunately the area to be filled was only about 60 m² so it did not take too long before the path had been laid.
A retarding solution was sprayed on the freshly thrown cement to prevent the top layer drying overnight.
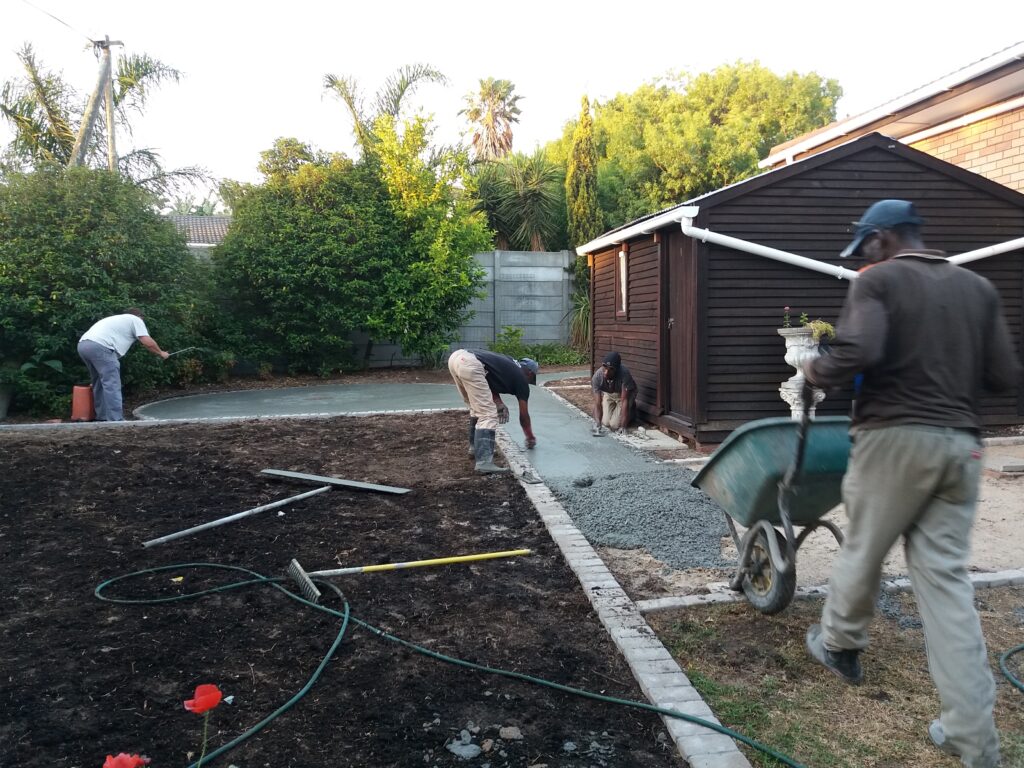
The exposed aggregate would be revealed the following morning…how exciting!
Be sure to check in next week for Part 2 to see how well the garden makeover was completed. Until then, happy gardening.
One thought on “Garden Project #4 – Part 1 of the Garden Makeover”
Best view i have ever seen !
Comments are closed.