Garden Project #3 – Planter Box Veggie Garden
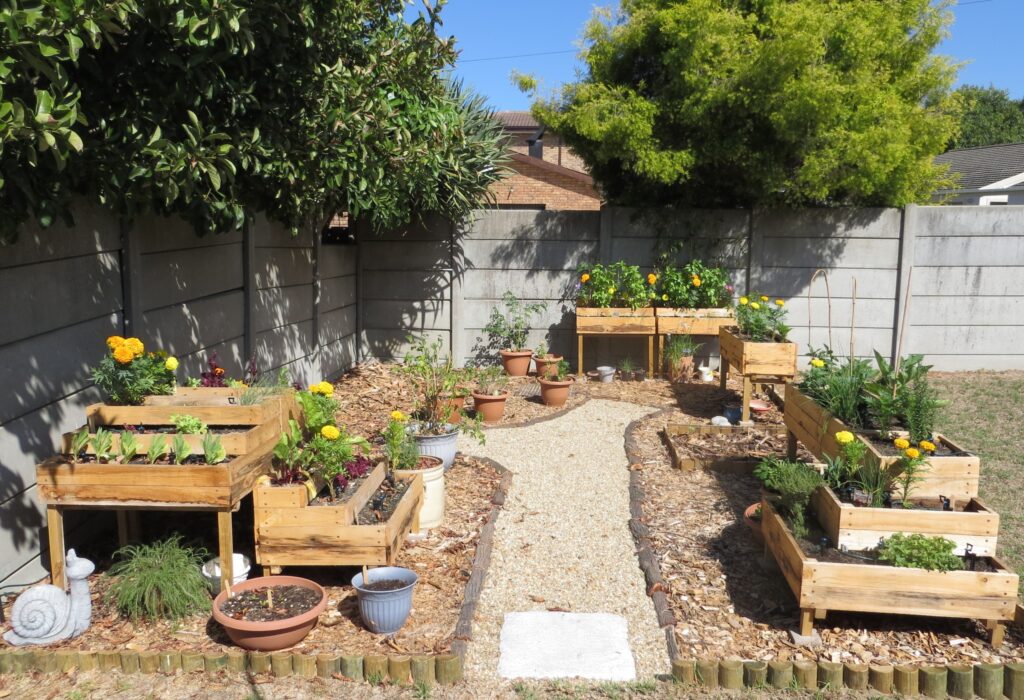
Veggie gardens come in all shapes and sizes. The design options are endless which gives one the scope to create a garden that is tailor made to your own situation and available space. Growing veggies and herbs in containers is one such option which remains popular among gardeners. This garden project is all about the planter box veggie garden we made for herbs and some leafy greens.
This is the third of the five major garden projects tackled over the years. I’d been reading about the advantages of growing herbs and veg in containers so thought I’d give it a try.
One of the main advantages to container gardening is that one has better control over the soil. The area of the yard earmarked for the veggie garden was very sandy so by using planter boxes the veg could grow in composted potting soil. This would provide them with the nutrients needed to grow well and produce a good yield.
Another advantage for using planter boxes is if you want to create a herb garden with easy access from the kitchen. The area near the back door is often paved so these planter boxes are an ideal choice.
Prepping the area
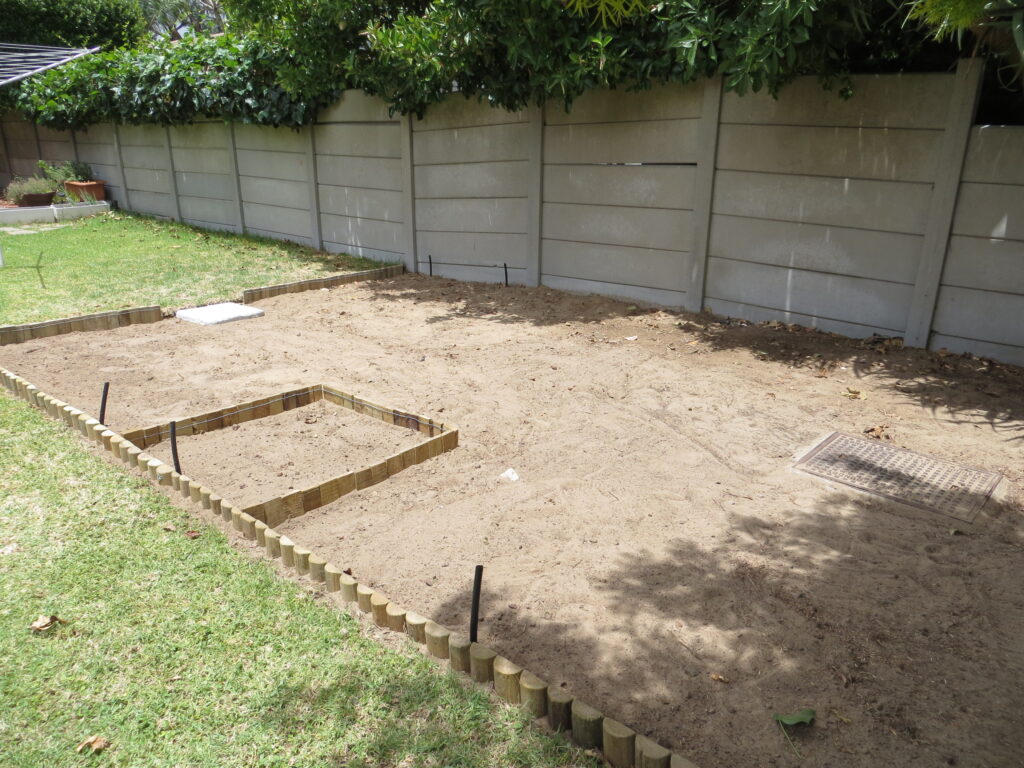
Out with the old, in with the new. This part of the garden is located in the south west corner of the backyard. It receives morning sun and is shaded in the afternoons in summer. A 3 m x 3 m section was the remnants of an old veg garden but had since been covered with gravel. I removed all the stones and extended the area all the way to the vibracrete wall which meant my veggie garden would have an area of 18m².
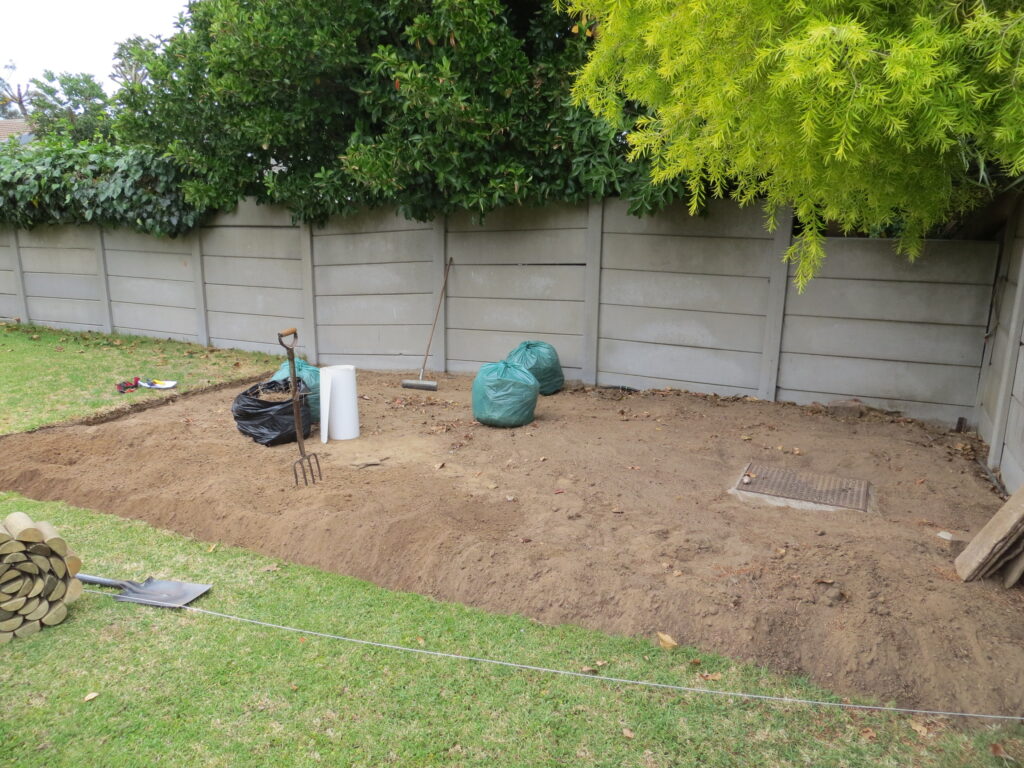
Removing all the grass was a few weekends’ work but it was good exercise and kept me out of mischief.
Border lines
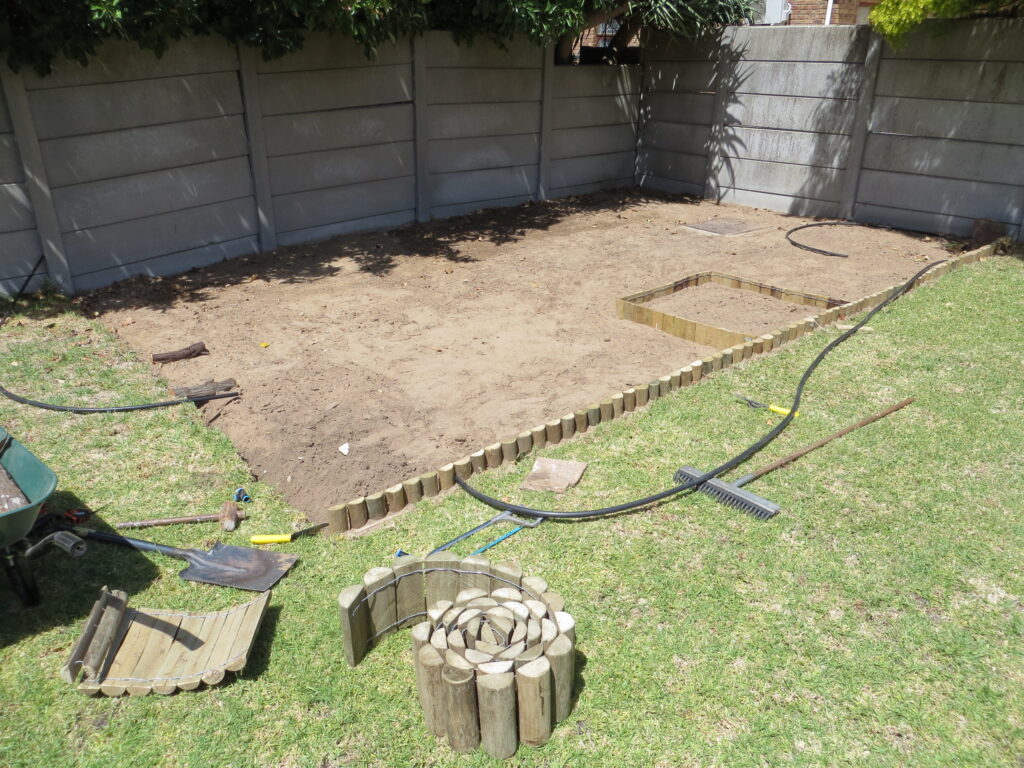
The next step involved creating a border for the veg garden. This is where hubby kindly assisted by digging the trench and planting the wooden edging. Although I don’t receive supplier endorsements I like to mention which products I use and where I’ve purchased them as this information may be useful to you.
The wooden edging is from the Pole Yard. I used their rustic edging when I made the contemplative garden and was very happy with the quality. This time I bought the split edging.
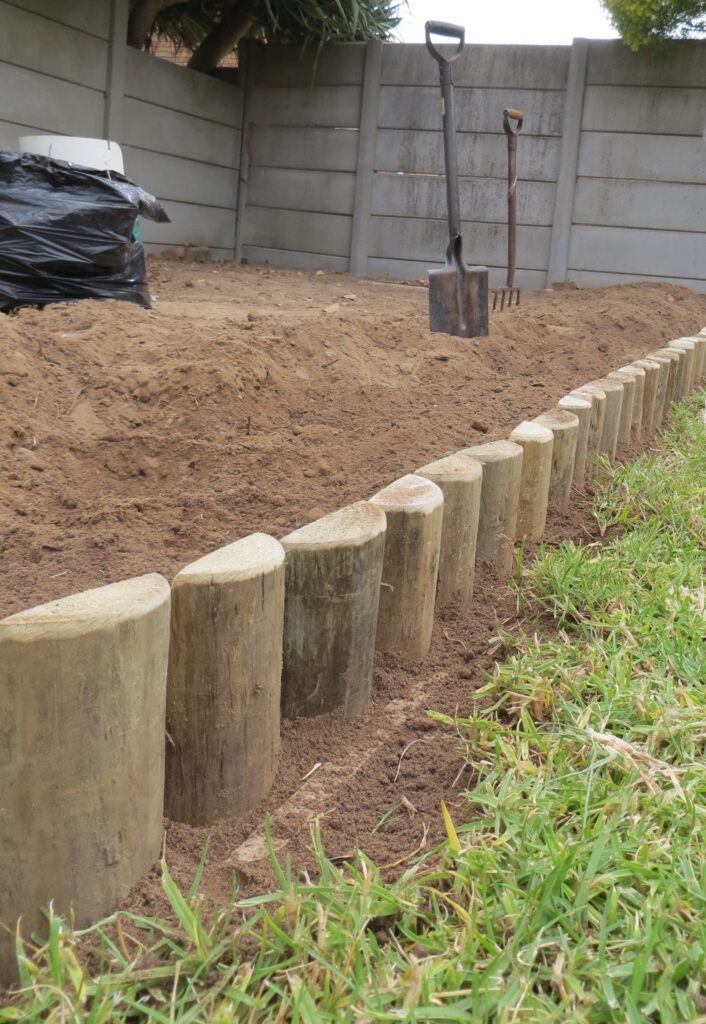
The split edging is a decorative edging. I really like it but in hindsight I found using it against the lawn wan’t the best idea. Had it been facing a flower bed or gravel it would have been perfect. The grass manages to grow in between the wood and, due to the curve of the wood, cannot be cut with the weed eater.
The rustic edging which is flat would have been a more practical choice to use against the lawn. Anyway this is what gardening is all about – learning as you go.
The plumbing part of the project
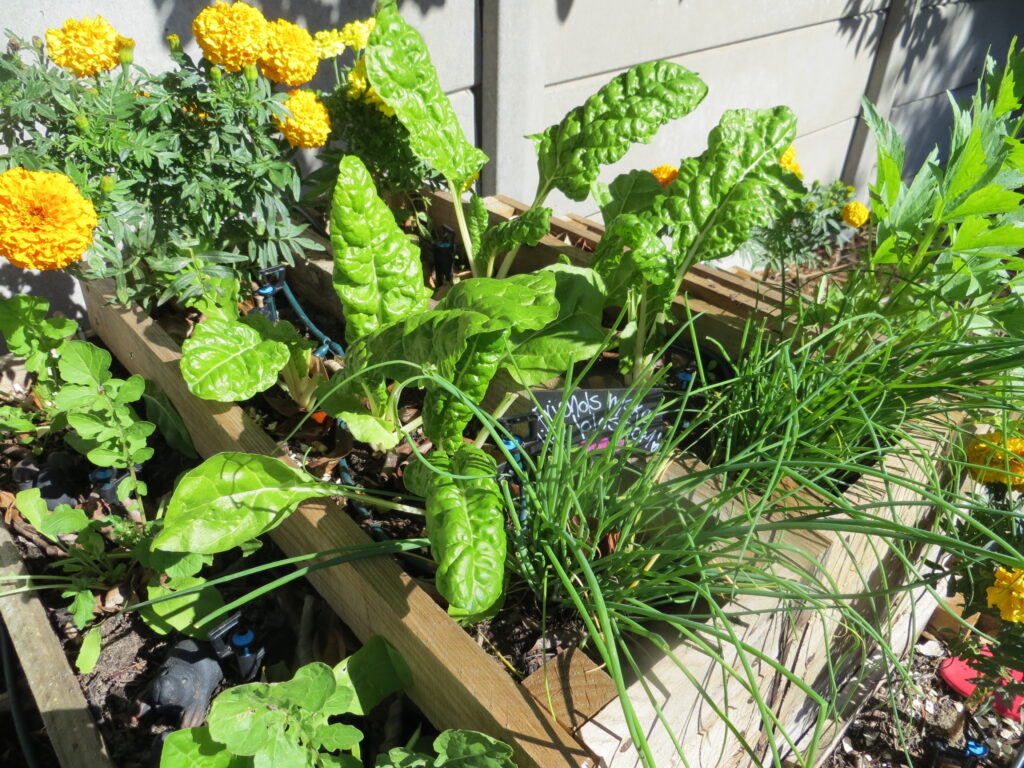
We decided to add an irrigation system to the planter box veggie garden. Fortunately I could rely on my hubby’s skills to design a workable system which included some drippers and sprayers.
These were linked via a network of hoses to a solenoid valve which is connected to the mains water supply. The watering schedule was programmed into the irrigation controller which in turn would signal the solenoid valve to open and close accordingly and automatically watered the garden.
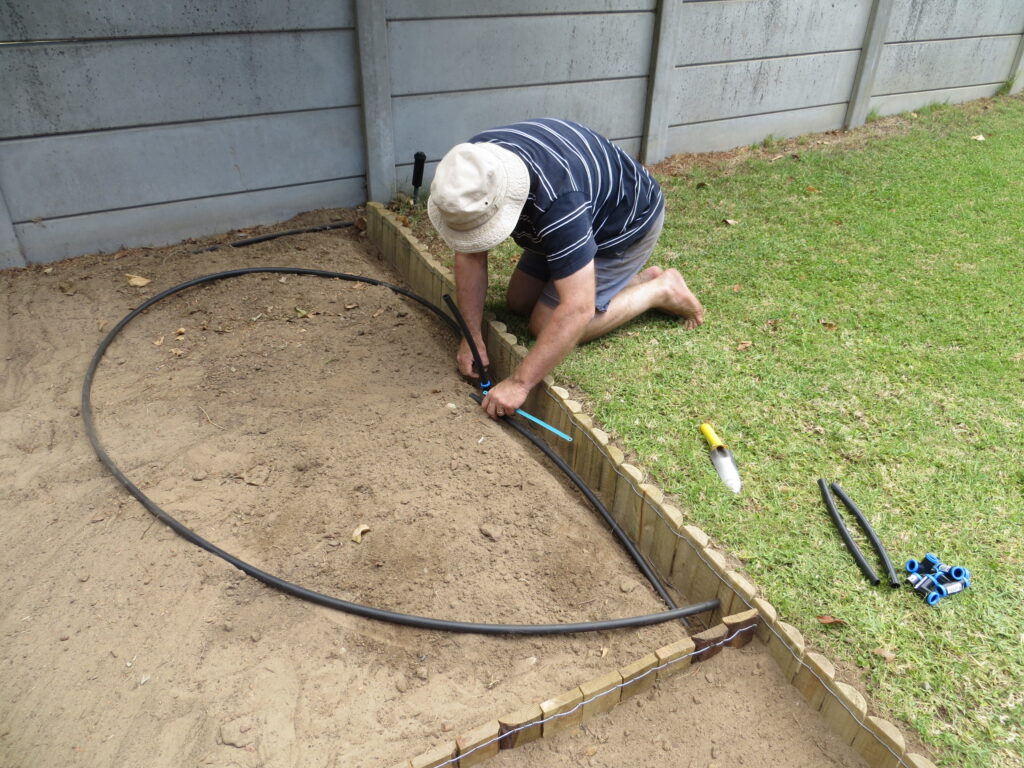
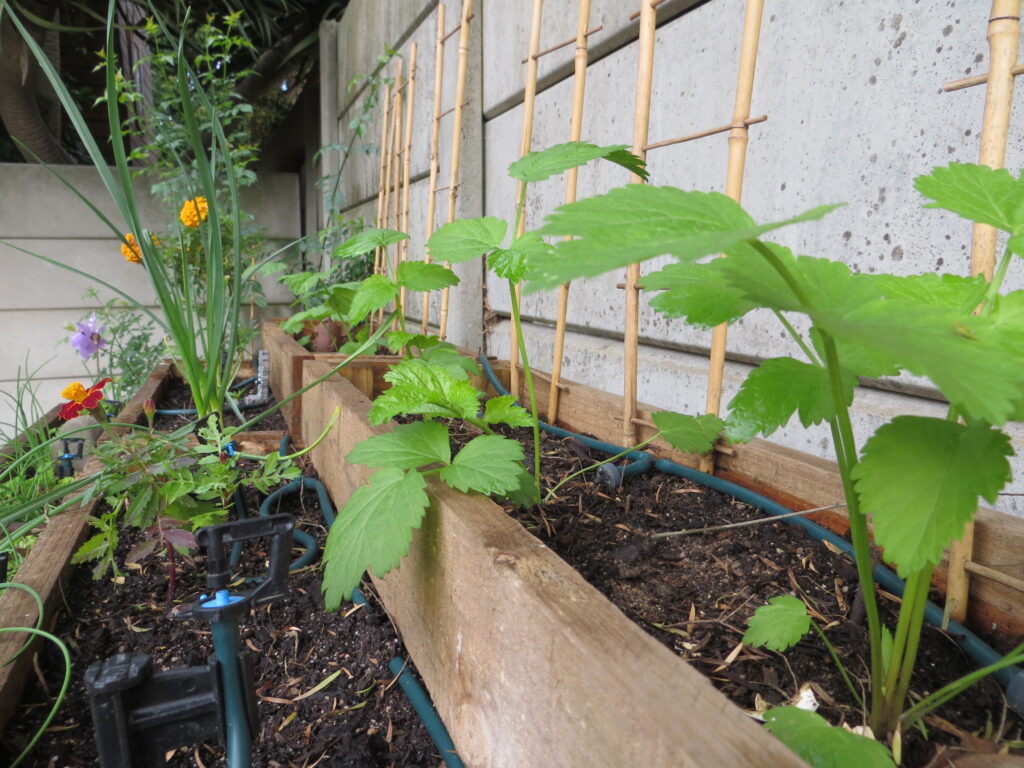
Due to the drought and ongoing water restrictions in Cape Town, I haven’t been able to use this method of watering for the last three years. In the mean time we have installed rain water tanks and may still hook this system up again. But that is a project for another day.
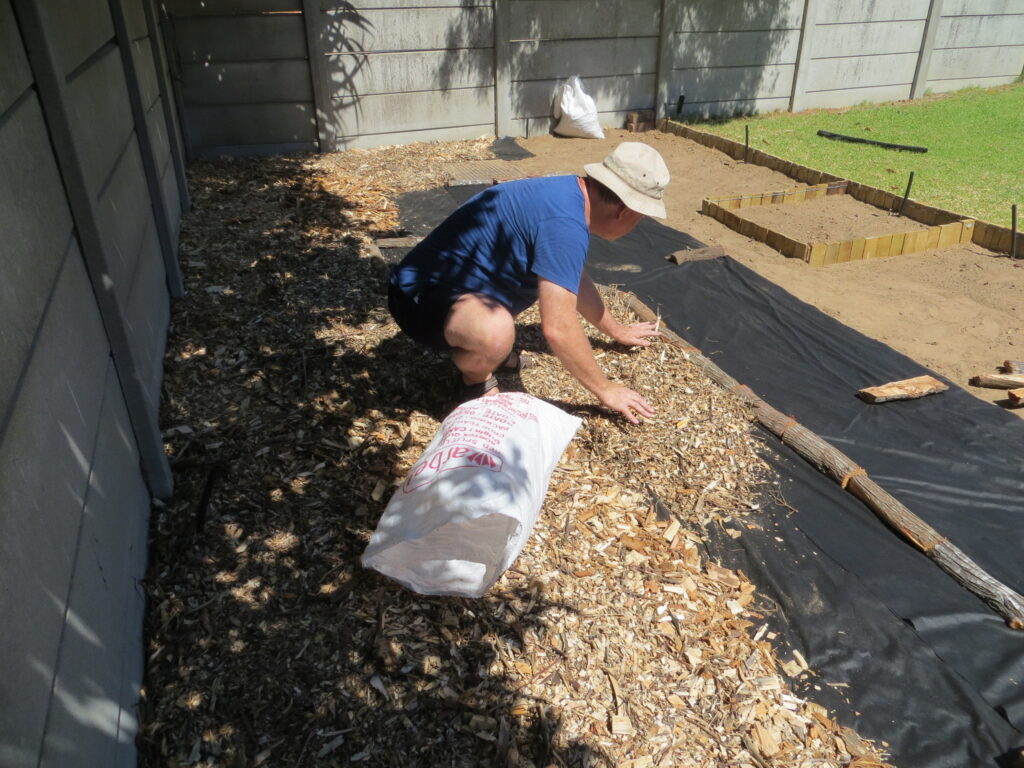
With the area prepped we could start on the finishing touches. Although I had removed as many grass roots as possible I didn’t want to take the chance of any missed pieces growing again. We covered the area in weed guard before spreading a thick layer of wood chips on the ground. I visited Atlantic Pebbles again for some more bags of small 6 mm stones which I used for the little pathway in the garden.
Putting it all together
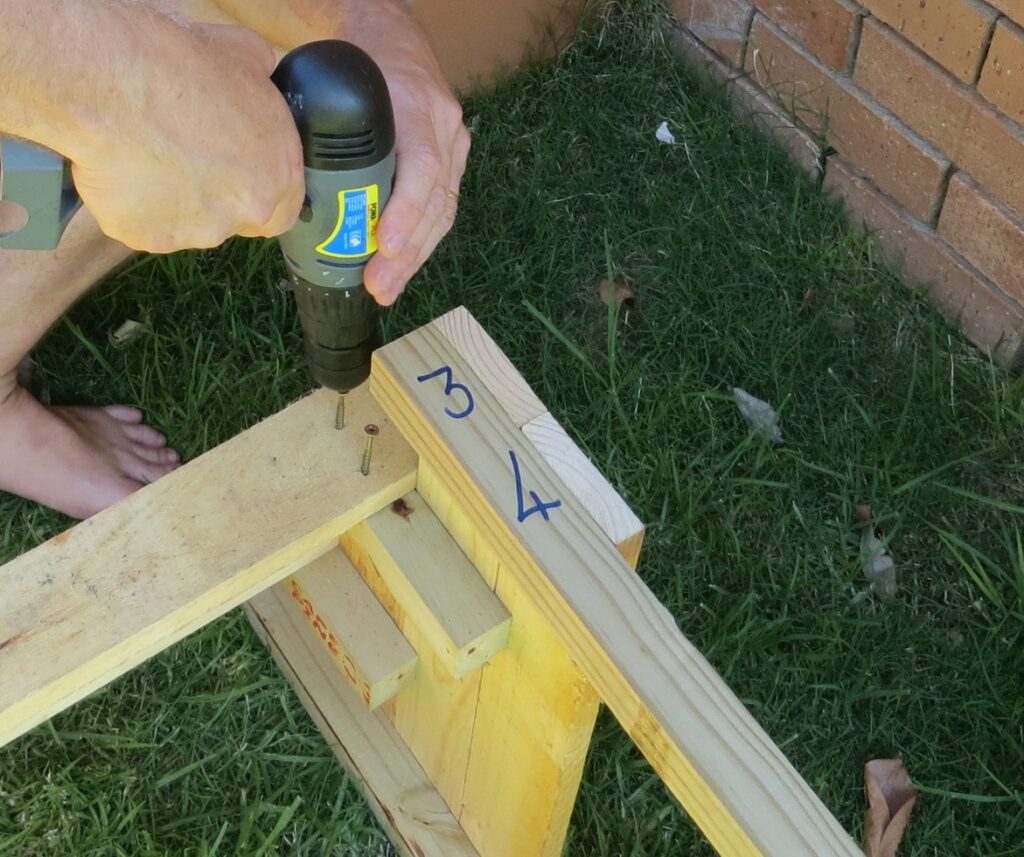
I bought the planter boxes for the veggie garden from Garden Stuff in Cape Town. Uli and his team make quality planter boxes and don’t use recycled pallets. In fact their planters are certified as organic due to the wood they use. Assembling the units was quick and easy. The pieces were all numbered, holes were pre drilled and all the screws provided were rustproof.
Time to get planting
Up till now hubby had done most of the work but now since the fun part was going to start, it was my turn again.
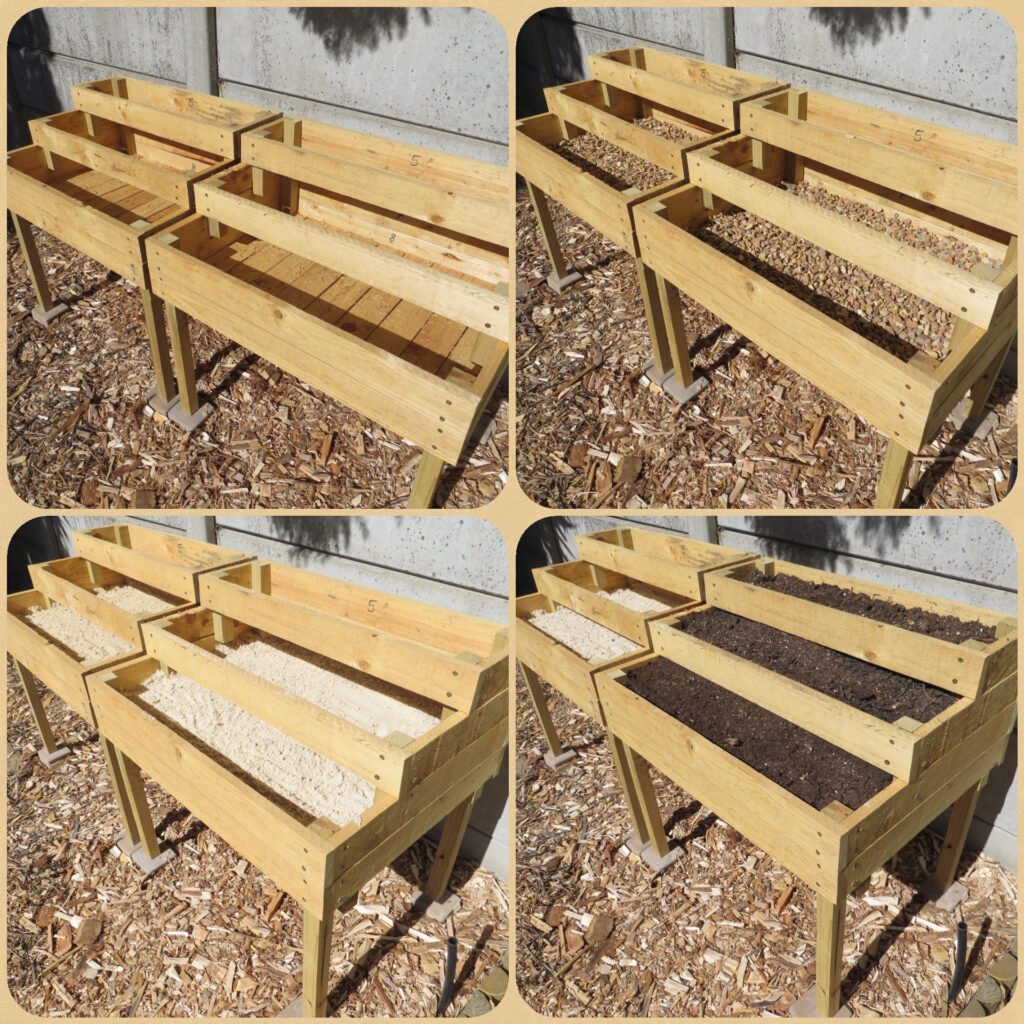
The planter boxes came with details recommending how to fill them for the best drainage. Most plants don’t like soggy roots so I followed their instructions. First I placed a layer of gravel in the planters. I used a mixture of 13 mm and 6 mm stones. Step two was to add a layer of river sand. The smaller stones helped fill the gaps so that the river sand wouldn’t run out like an hour glass. The third step was to top up with the potting soil. I mixed a bit of bone meal in with the potting soil to aid root development.
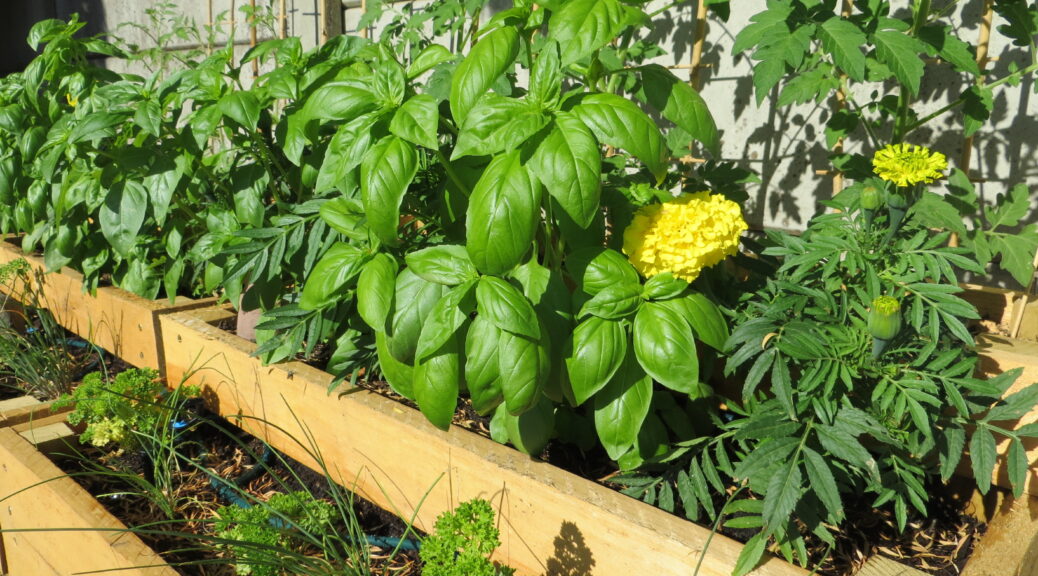
Great, with the planter boxes ready I could start planting my seedlings. I had salad tomatoes, basil, chives, parsley and of course the all important marigolds to plant. These all make great companions so they were planted into two of the veggie planters. (Read this post for an introduction to companion planting.)
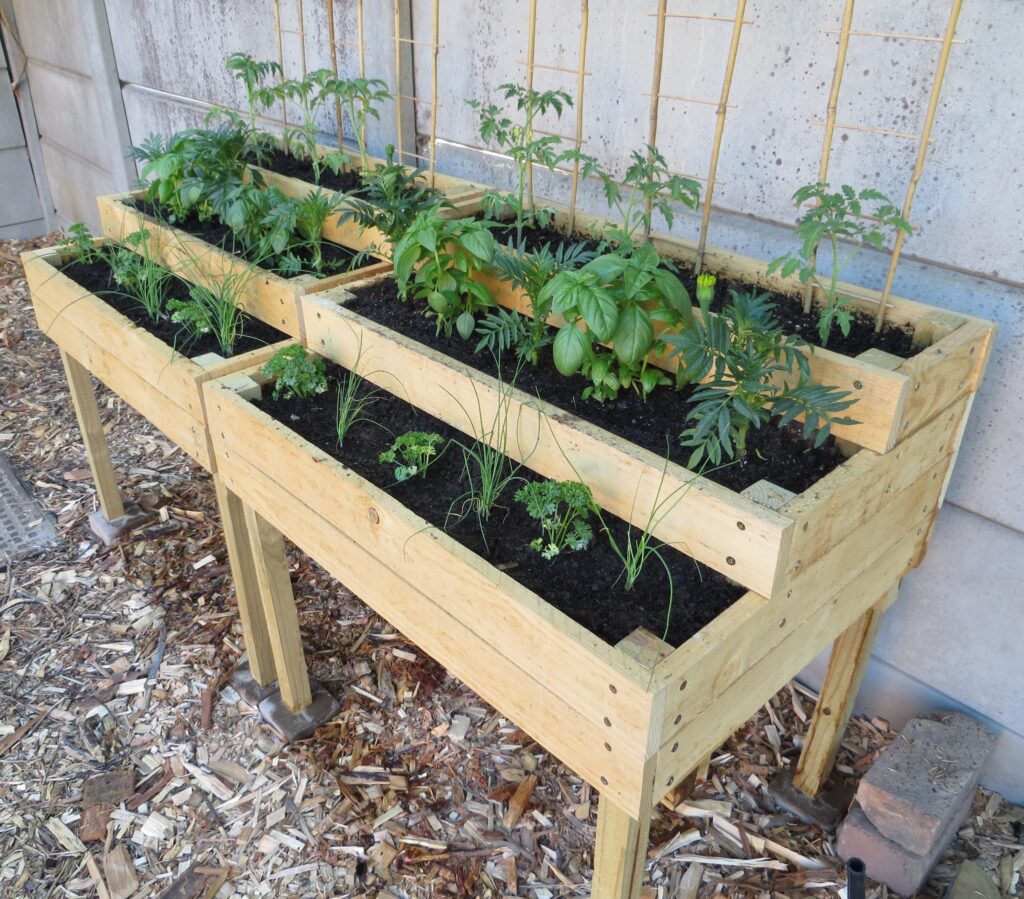
The chives, lettuce and lovage went together with some marigolds in another set of planter boxes. I was looking forward to the salad I could make once all the plants were growing and I could start harvesting.
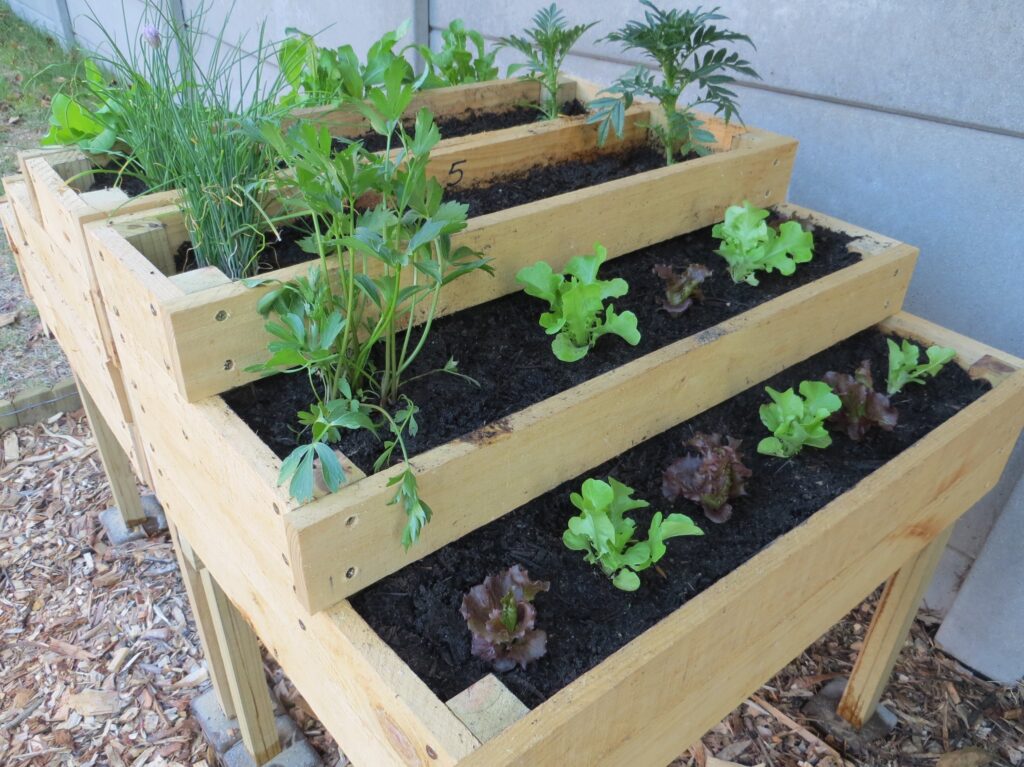
I also planted rosemary, thyme, origanum, rocket, chillies and even some aubergines in the remaining planter boxes.
So as you can see this is a great way to create a garden with a difference. Whether you choose to only use containers for your plants or to add a planter box or two to your existing veggie garden I hope you have lots of fun and a bountiful harvest.
Until next time, happy gardening.
