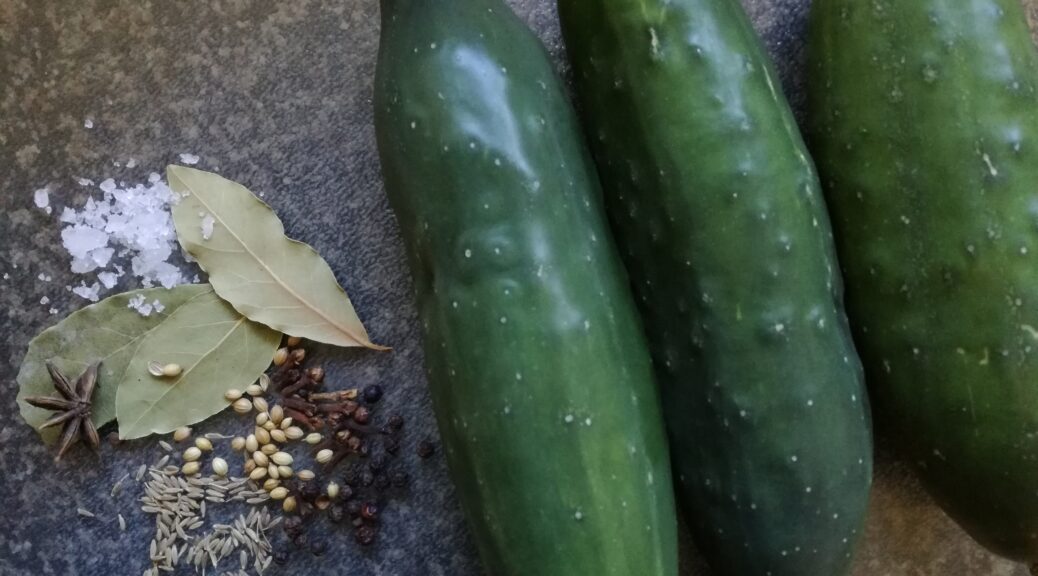
Pickled cucumbers made easy
When nature blesses one with an abundant harvest, drying, freezing, making jams or sauces are all ways of preserving the excess. I suppose cucumber jam would be one way of keeping your fruit (yes, it is a fruit and not a veggie) preserved, however, I have yet to try that. I prefer to pickle the extra cucumbers so that I can enjoy them after the season has passed.
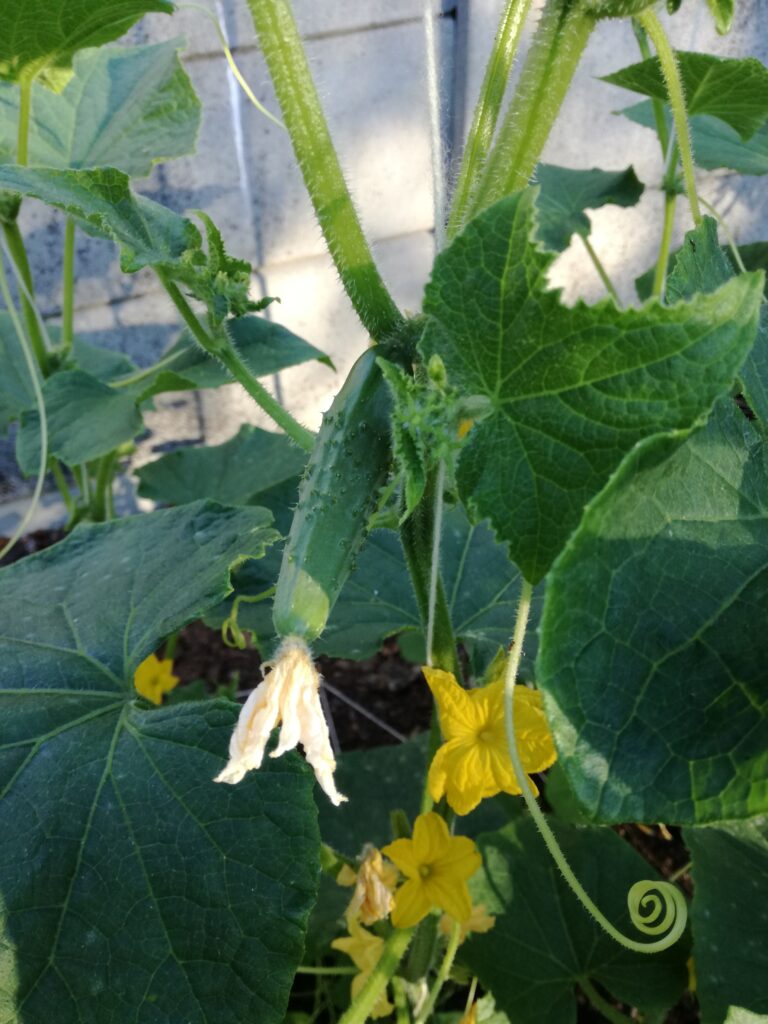
I took a gamble when I planted my cucumbers this year. The seed packet recommended spring and summer planting. Well, summer was already at an end but I decided to take my chances and plant them anyway.
I figured I still had at least 2 – 3 months of relatively warm days ahead. Our daytime autumn temperatures can average 20 – 25 degrees Celsius and are usually wind free. It’s my favourite season to be in the garden.
Another reason I hadn’t been keen to plant them in summer was because my gem squash crop was totally ruined by pumpkin fly. If I managed to get one or two squash from eight plants I was lucky. It was a sad affair. My previous attempt at growing cucumbers was spring 2018 and that had ended just as dismally thanks to this nasty little insect.
Where there is a will there is a way
Once bitten, twice shy is as the saying goes but I was determined I wanted cucumbers. It seemed logical to me to just delay planting them. I certainly hoped that the last batch of pumpkin fly caught in the McPhail traps after pulling out the gem squash was the last I’d see of them for the season.
So I planted the seeds on the 28th February this year and added a few extra seeds for good measure. To my surprise the first little sprouts were already pushing through the ground by the 3rd March. Lady Luck was smiling on my little cucumber babies because they all sprouted. Hooray! But now I had so many seedlings that I started giving them away to friends.
Autumn bliss
Notwithstanding all 2020’s shortcomings I must say that we were blessed with such a spectacular autumn. It is now June and there are still some cucumbers growing on the vines. My gamble had paid off.
Just a word on the trellising I used for the cucumbers – the vines needed support as they grew upward so I built a trellis system based on a YouTube video I came across published by Josh Sattin. I adapted his idea using the bits and pieces I had available and constructed my trellis out of bamboo canes and spare garden irrigation fittings. Thankfully it served its purpose and the cucumbers seemed quite happy with it. You can check the video tutorial I used on the link here.
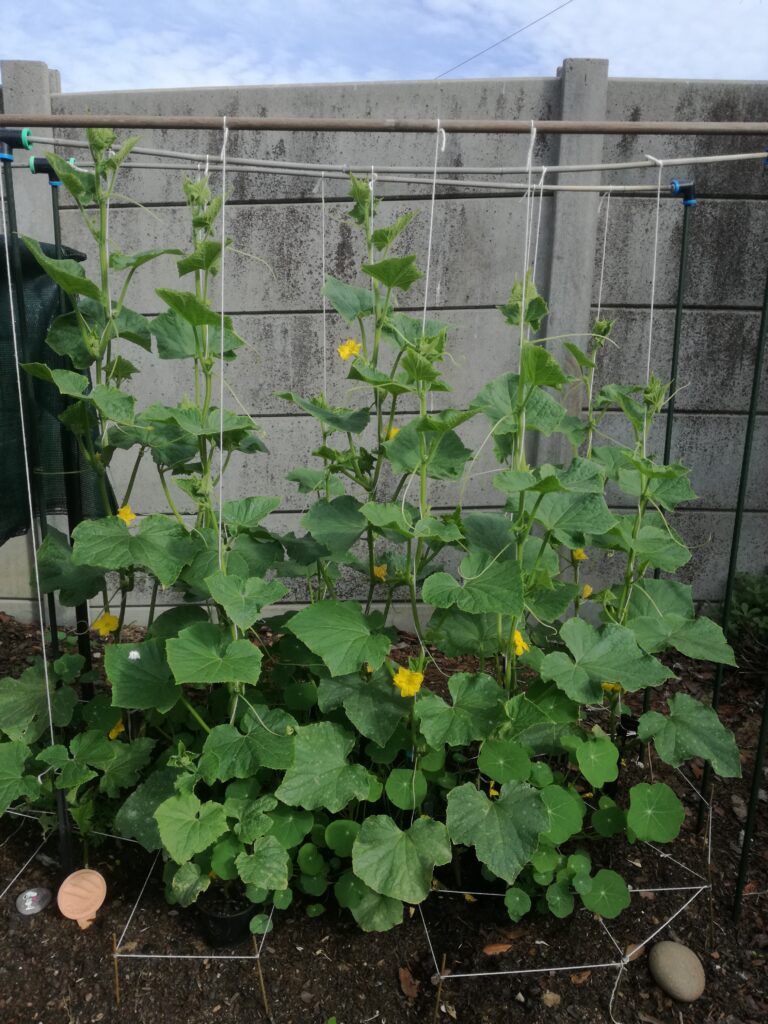
I’ve so far managed to harvest about 3kg of healthy cucumbers with minimal damage from those pesky pumpkin flies.
Can’t eat them fast enough
So now what to do with so many cucumbers? I have read that one can freeze cucumbers but my favourite is to pickle them. My dad sent me a recipe which I have tweaked slightly and will share with you. It really is a straightforward, no fuss kind of recipe and I like it because of the sweet tangy taste and crunchiness of the pickles.
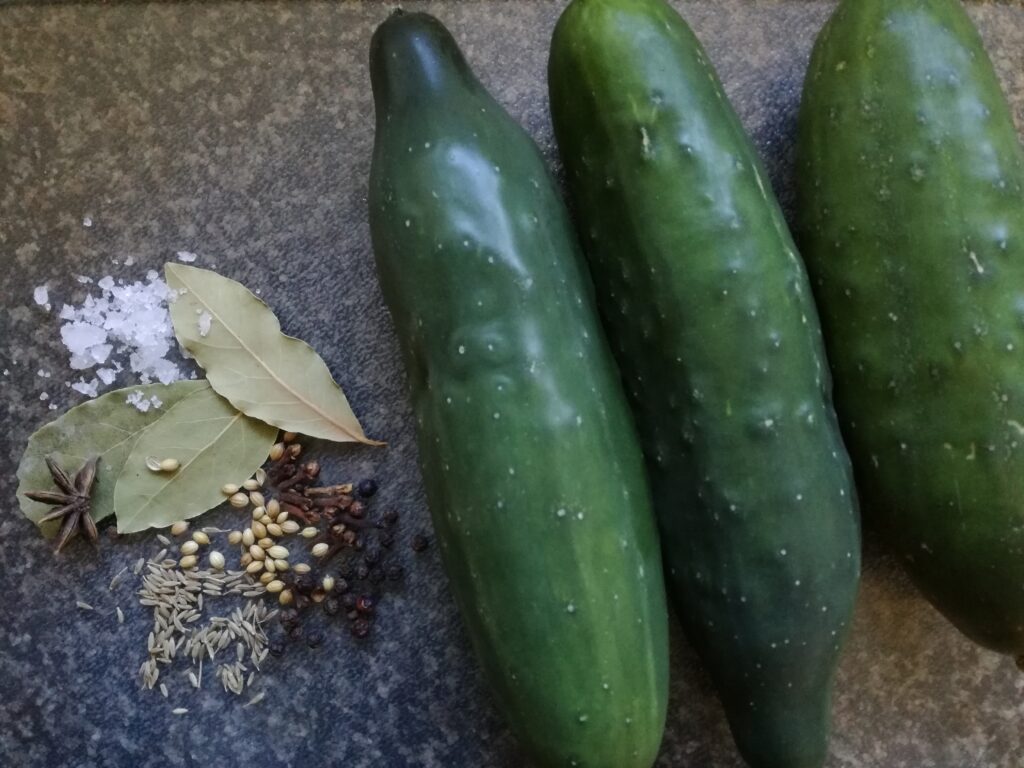
Preparing the cucumbers
Freshly picked cucumbers are covered in little prickles which are easily removed by rubbing them with a cloth. I usually do this while I am rinsing them.
The three cucumbers I used for this recipe weighed just over 820g which was enough to fill a large 750ml jar. I’m growing a variety called Ashley which are super in salads and I find they also pickle well.
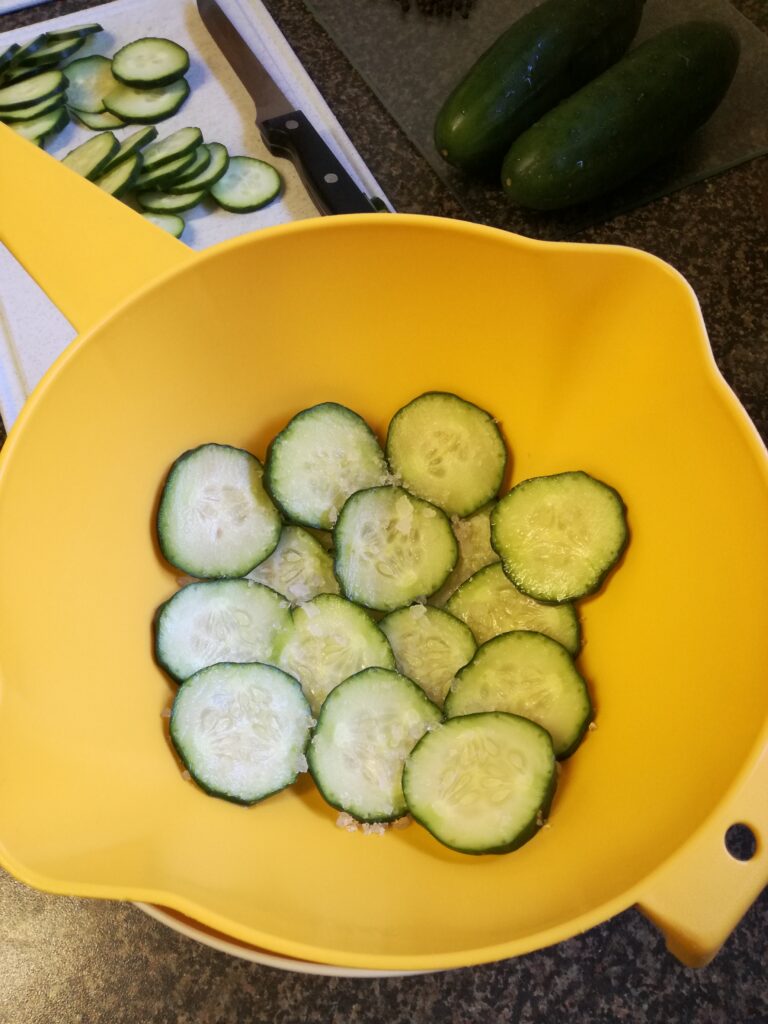
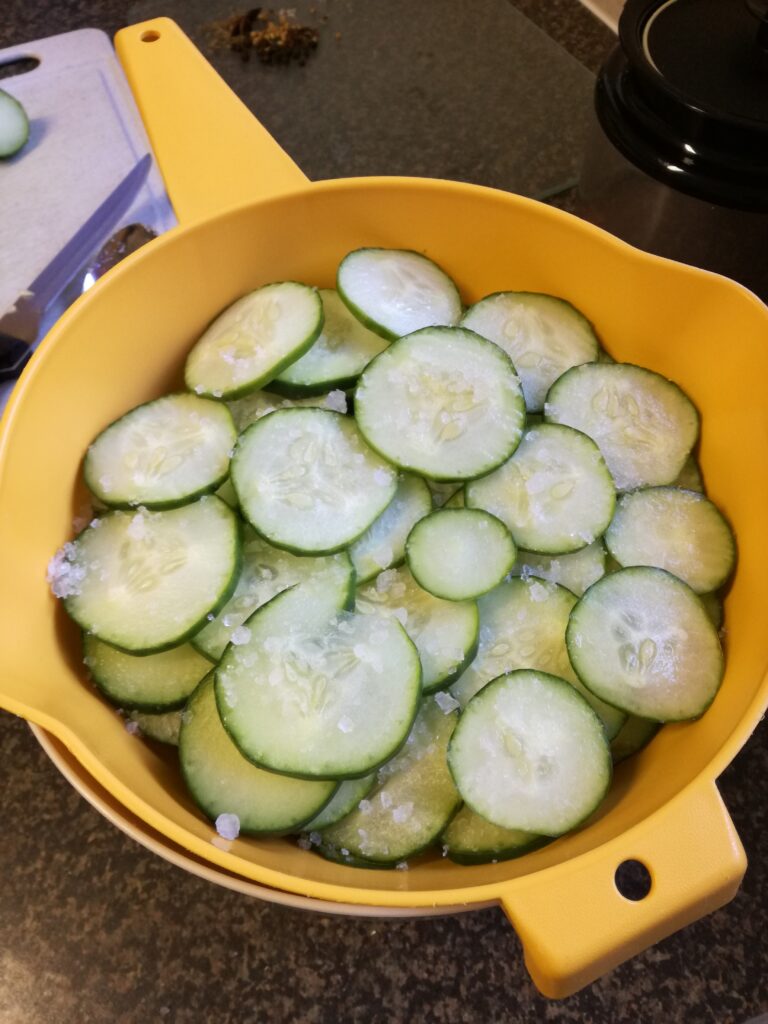
Cucumbers contain a lot of water and for that reason the slices are sprinkled with coarse salt and weighted down for about two hours to extract the moisture. I used a colander over a bowl and sprinkled each layer of cucumber with salt before placing more slices on top until the colander was full.
Preparing the sauce
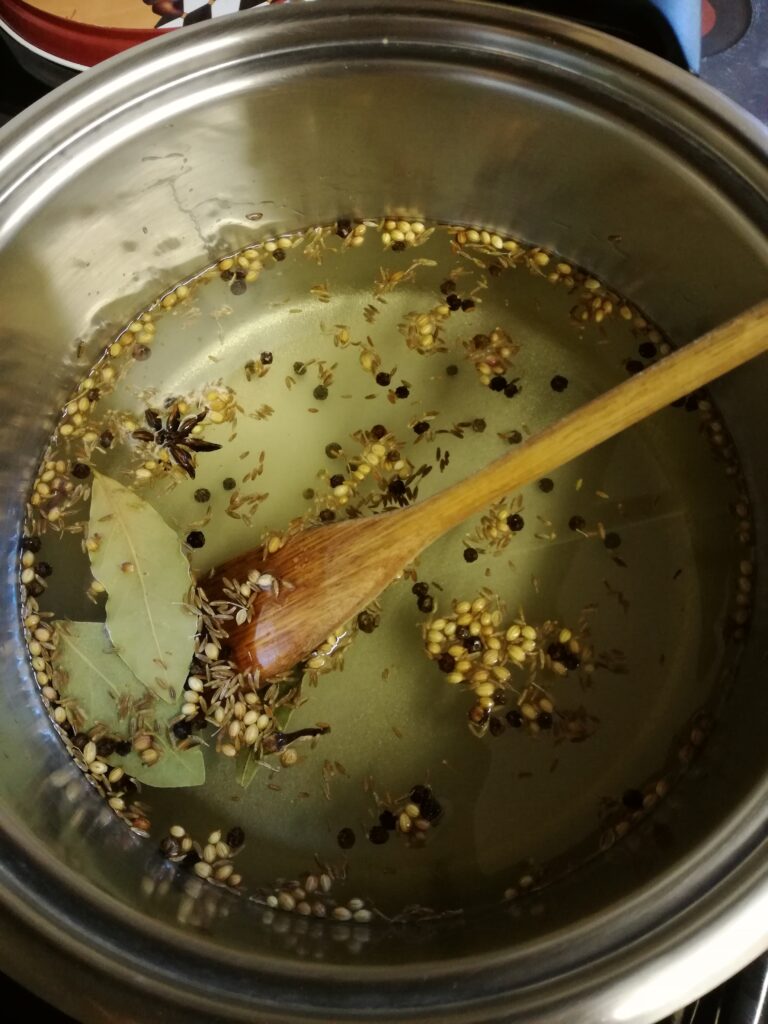
The sauce can be prepared in the meantime. This is a mixture of spices, water, sugar and vinegar. I like to use apple cider vinegar but white wine vinegar would also work. The amount of vinegar can be adjusted down to one cup if you prefer your pickles slightly sweeter rather than tangy.
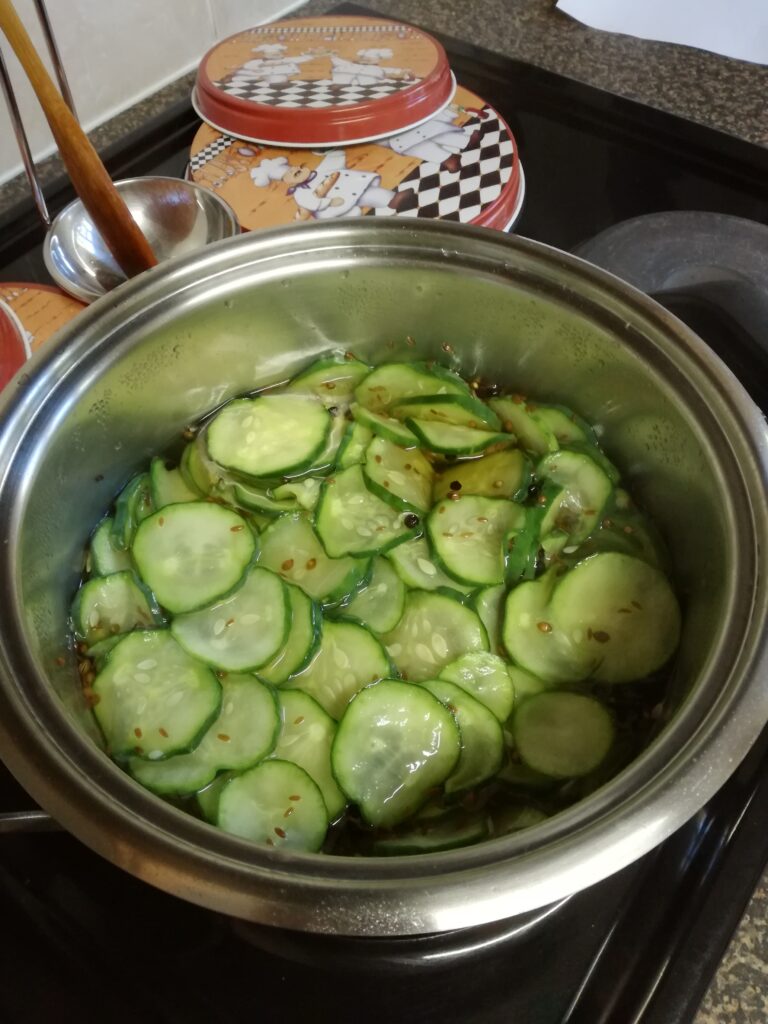
Before the cucumbers can be cooked, they need to be rinsed and drained. The coarse salt makes them pretty salty so I found rinsing them a few times was needed. The cooking process is pretty quick – usually not more than 15 to 20 minutes. Since I prefer my pickles to be quite crunchy I found 15 minutes was sufficient. By this time their skins had turned lightish brown in colour.
Bottling the pickles
Bottle the pickles in warm sterilised jars filling them with the juice to about a millimetre from the top of the jar. Just a word of caution – handling the bottles with oven gloves may be a good idea since the jars get really hot from the boiling liquid. Seal while hot and allow to cool.
The pickles should ideally be allowed to infuse further for about two weeks before eating them. That is to say if you can resist that long as these are really yummy. They’re yummy on hamburgers, yummy on crackers or yummy straight out of the jar. Feel free to comment below if you try this recipe and let us know how it turned out for you. Enjoy!
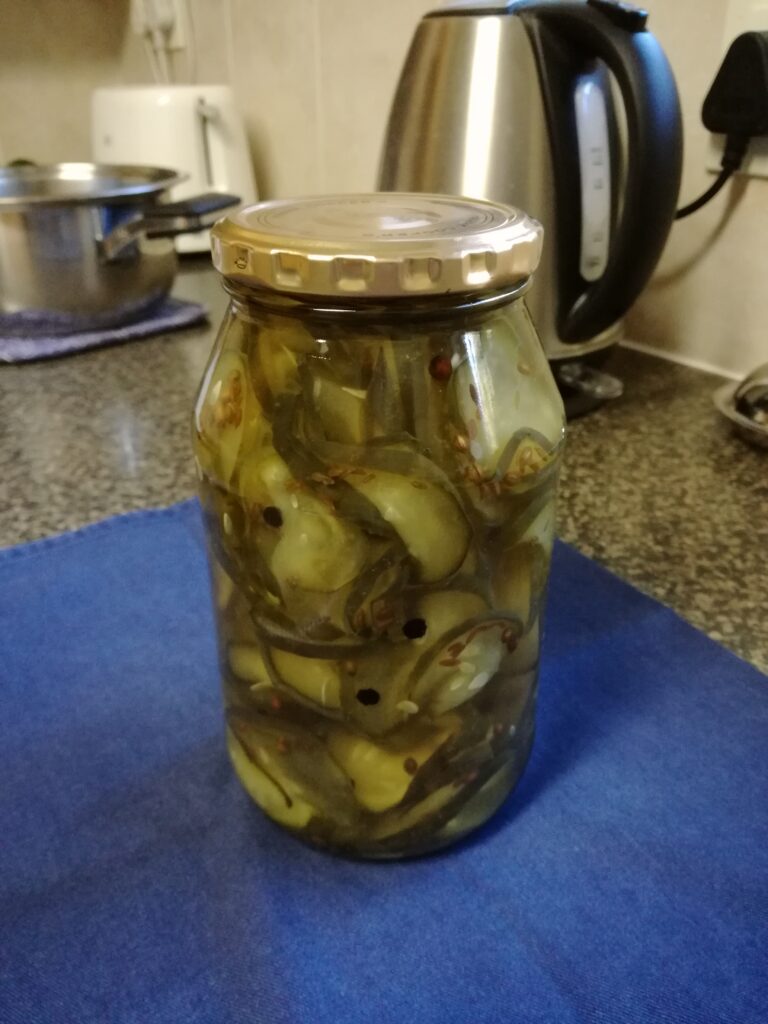
Pickled Cucumbers
Ingredients
- 3 cucumbers sliced
- coarse Salt
- 1½ cups water
- 2 cups sugar
- 1¼ cups white wine vinegar or apple cider vinegar
- 1 tsp whole coriander seeds
- 1 tsp whole peppercorns
- 1 tsp cumin seeds
- 3 bay leaves
- 3 cloves
- 1 star anise
Instructions
- Layer the cucumber slices in a colander sprinkling coarse salt over each layer. Keep alternating until the all the slices have been layered and salted. Weigh the slices down with something heavy to extract the moisture (about 2 hours).
- Combine the water, sugar, vinegar and all the spices in a large pot. Bring to the boil stirring to dissolve the sugar. Boil for approximately 15 minutes. Remove from the heat and let the mixture stand for at least 30 minutes to infuse.
- Rinse the cucumber slices well to remove the salt. Squeeze out as much of the water as possible by weighting them down in the colander.
- Remove the bay leaves, star anise and cloves from the pickling sauce and bring the liquid back to a boil. Place the rinsed and drained cucumber slices in the sauce and boil just until their skins turn a light brownish colour. About 15 – 20 minutes.
- Bottle into hot sterilised jars, filling with liquid to the top and seal while hot.